

Roofing and Flashing: The Ultimate Guide to Critical Waterproofing Techniques
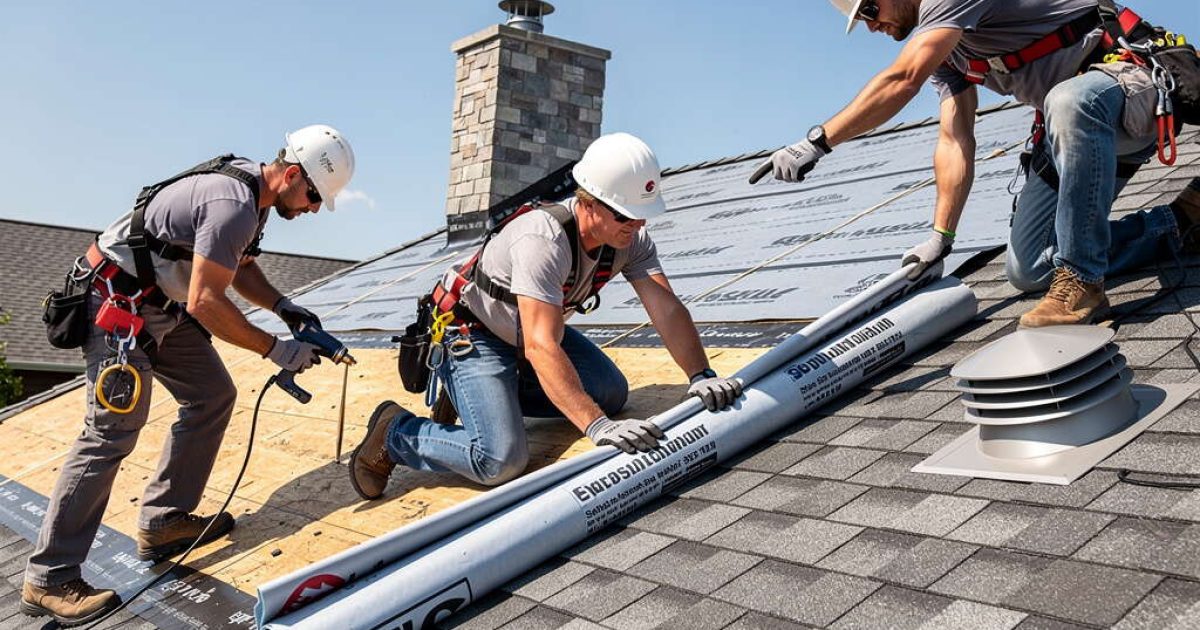
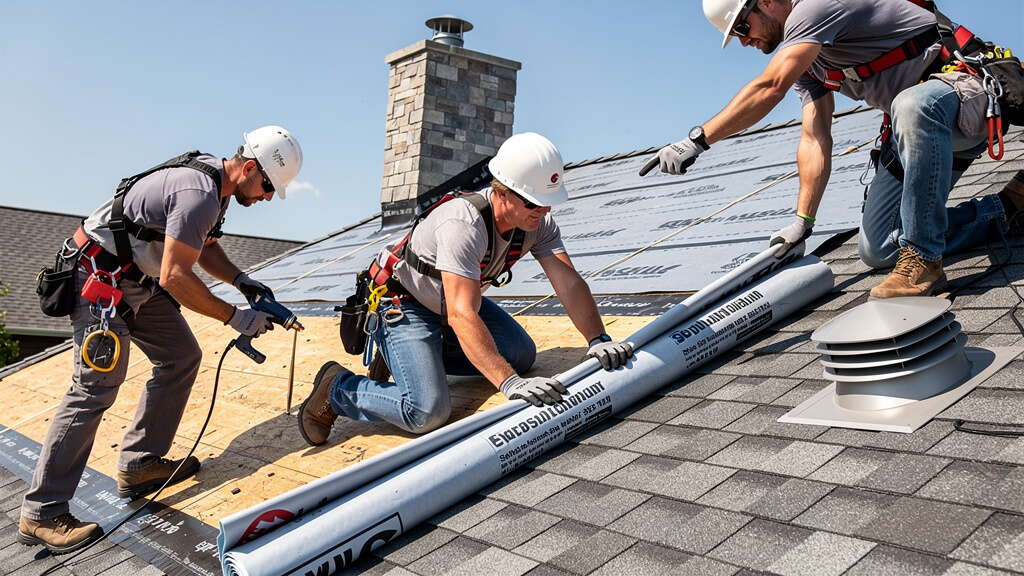
Many roof leaks begin at vulnerable roof intersections rather than in the middle of the shingles. These areas include roof edges, valleys, chimneys, walls, vents, and pipe penetrations. That’s where roofing and flashing work together to direct water away and help prevent leaks.
In Mississippi, heavy rain, high winds, coastal storms, and year-round humidity put constant stress on your roof. That’s why quality roofing and flashing are essential for helping prevent leaks, wood rot, and mold-prone moisture issues. At TopCo Roofing, we know that properly protected roof intersections help keep your home dry.
What Is Roof Flashing and Why Does It Matter?
To protect your home from leaks, it helps to understand how roofing and flashing work together. Asphalt shingles move water down the roof’s slope, but they cannot create a watertight seal where the roof meets chimneys, dormers, skylights, vents, walls, or valleys. These transition points are where roof flashing becomes essential.
Roof flashing is usually made from rust-resistant materials like galvanized steel, aluminum, or copper. Professional roofers install these custom-bent pieces around joints and openings to redirect water away from vulnerable seams. In Mississippi, quality flashing helps handle heat, humidity, storms, and seasonal movement while guiding water toward gutters and away from your foundation.
Key points to remember:
- Shingles shed water, but flashing protects the roof’s weakest points.
- Flashing is commonly installed around chimneys, vents, skylights, dormers, walls, and valleys.
- Durable materials like galvanized steel, aluminum, and copper help resist corrosion.
- Poor or failing flashing is one of the most common causes of roof leaks.
- Proper roofing and flashing installation helps prevent water damage, wood rot, and moisture issues.
Common Types of Roof Flashing Homeowners Should Know
Not all flashing is created equal. Different roof features require specific flashing designs to help maintain a reliable water barrier. To fully understand the connection between roofing and flashing, it helps to know the key components that protect your home.
Step Flashing
Step flashing protects areas where a sloped roof meets a vertical wall, such as a dormer or chimney. These overlapping metal pieces are woven with each shingle course to direct water back onto the roof surface. This helps prevent water from slipping behind the wall and causing leaks.
Counter Flashing
Counter flashing works with step flashing, especially around brick chimneys and masonry walls. It is often embedded into mortar joints or secured into a reglet, then extended over the step flashing below to block wind-driven rain. This layered system creates stronger leak protection around vulnerable roof transitions.
Valley Flashing
Roof valleys are V-shaped channels where two roof slopes meet, carrying heavy rainwater during storms. Depending on the roof system, valley protection may include metal flashing, waterproof underlayment, or both to guide water safely down the roof. Because valleys handle some of the heaviest water flow, they are a key area to inspect for leaks.
Drip Edge Flashing
Drip edge flashing is installed along the roof’s perimeter beneath the edge of the shingles. It directs water into the gutters and helps keep it from curling back under the roof edge. Without it, fascia boards, roof decking, and gutter lines can suffer moisture damage over time.
Pipe Boot Flashing
Most homes have plumbing vent pipes that pass through the roof and need pipe boot flashing to stay watertight. These boots use a base and flexible rubber collar to seal around the pipe. Over time, the southern sun can crack or dry out the collar, making pipe boots a common source of ceiling leaks.
Signs Your Roofing and Flashing System Is Failing

Catching flashing problems early can help prevent more expensive structural repairs and moisture-related issues. You do not always have to climb a ladder to spot trouble. There are several clear warning signs that your protective roofing system may need attention.
Interior Warning Signs
Often, the first signs of flashing failure appear inside your home before you notice anything on the roof. Water can travel behind walls, across rafters, or through insulation before it becomes visible, so even small warning signs should be taken seriously. If you notice any of the issues below, it may be time to have your roofing and flashing inspected.
- Yellow, brown, or copper-colored ceiling stains
- Bubbling, peeling, or blistering paint on upper walls
- Soft or damp drywall
- Musty odors in specific rooms
- Unexplained moisture buildup in the attic
- Dark streaks on wooden rafters or roof decking
These signs should not be ignored, especially after heavy rain or strong winds. A timely inspection can help identify the source of the leak, prevent further moisture damage, and protect your home before the problem spreads.
Exterior Warning Signs
You can often spot exterior signs of flashing problems from the ground without climbing onto your roof. Walk around your home on a clear day and look closely at areas around chimneys, valleys, vents, pipe boots, and roof edges. If you notice any of the issues below, your waterproofing system may need a professional inspection.
- Rusted metal around chimney bases or roof valleys
- Lifted, bent, loose, or damaged flashing pieces
- Cracked rubber collars on plumbing pipe boots
- Exposed or rusty roofing nails
- Heavy caulk patches around roof penetrations
- Debris-filled valleys that trap moisture
- Damaged materials near gutters, fascia, or roof edges
These exterior warning signs can allow water to slip into vulnerable parts of your roofing system. Addressing them early can help prevent leaks, wood rot, and moisture damage before they spread into your home.
Critical Waterproofing Techniques for Roofing and Flashing
A strong roofing and flashing system depends on more than simply placing metal around roof openings. Every layer must work together to move water down and away from vulnerable areas. When flashing is installed, sealed, and maintained correctly, it helps protect your home from leaks, wood rot, and moisture damage.
Use Proper Overlapping Layers
Roofing materials should always be installed so water flows over each layer, not behind it. Shingles, underlayment, and flashing must overlap in the correct direction to guide rainwater down the roof. This is especially important around chimneys, sidewalls, valleys, vents, and roof edges.
Install Flashing at Every Vulnerable Transition
Flashing should be used anywhere the roof meets another surface or penetration. These areas include dormers, chimneys, skylights, plumbing vents, valleys, walls, and drip edges. Without flashing in these locations, water can slip into gaps that shingles alone cannot protect.
Protect Roof Valleys and Heavy Water Flow Areas
Roof valleys handle large amounts of water during storms, making them one of the most important waterproofing areas. Proper valley protection may include metal flashing, waterproof underlayment, or both, depending on the roof system. Keeping valleys clear of leaves, branches, and debris also helps water drain properly.
Avoid Relying on Caulk as the Main Fix
Sealant can help finish certain flashing details, but it should not be the primary waterproofing method. Heavy caulk patches around chimneys, vents, or roof edges often signal a temporary repair that may fail again. Long-term protection usually requires correctly installed flashing, underlayment, and shingles.
Maintain Pipe Boots, Drip Edges, and Wall Flashing
Pipe boots, drip edges, step flashing, and counter flashing should be checked regularly for cracks, rust, lifting, or gaps. In Mississippi, sun exposure, humidity, and storms can wear down these components over time. Routine inspections help catch small flashing issues before they turn into larger roof leaks.
For help identifying and repairing leaks, explore our professional roof repair services.
How Proper Flashing Installation Prevents Future Leaks
A residential roof system is only as strong as its weakest joint. By investing in proper, code-compliant installation techniques, you help protect the long-term performance of your home. High-quality roofing materials are designed to work together as a layered water-shedding system.
Experienced installers understand that exterior water must always be directed downward and away from vulnerable seams. That means properly integrating underlayment, custom-cut flashing, shingles, drip edge, and other roof components. Many flashing issues start with shortcuts during installation, which is why proper roof installation is essential for long-term leak protection.
U.S. building guidance from HUD’s Moisture-Resistant Homes emphasizes specifying proper roof flashing details, including kick-out flashing, to reduce moisture intrusion and localized wall damage. When each roofing layer overlaps correctly, water has fewer paths into your home. Precise roofing and flashing work helps protect your home during heavy rain and gives you greater peace of mind.
Protect Your Home With Reliable Roofing and Flashing
A dry, comfortable home depends on the small but important details in your roofing and flashing system. When these metal components are damaged, missing, or poorly installed, even a minor leak can turn into costly structural damage over time. Regular inspections help protect your roof, attic, walls, and interior from moisture problems before they spread.
Don’t wait for a small drip to become a major repair. Watch for warning signs around roof edges, valleys, chimneys, vents, and interior ceilings. If you suspect a problem with your roofing and flashing, trust our team at TopCo Roofing to inspect the issue and help protect your home from the next storm.